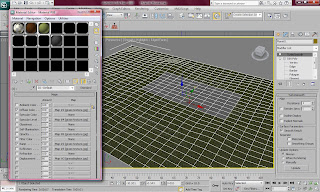
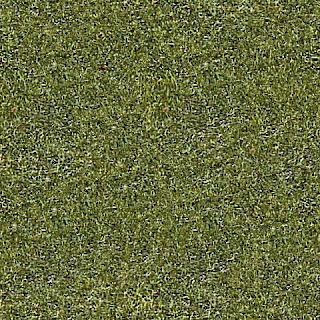
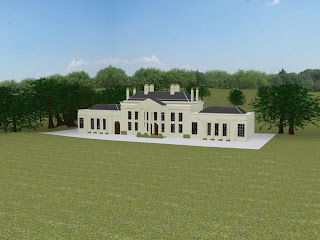
I then wanted to add tree around the house as they are in the guide picture I have been using. I did this by simple used the object "foliage" to create different kinds of trees, once I had created one which was the right size compared to the building, I then duplicated it and clicked on "new seed" to create the same tree but in a different position.

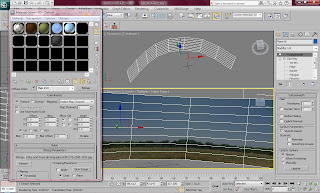
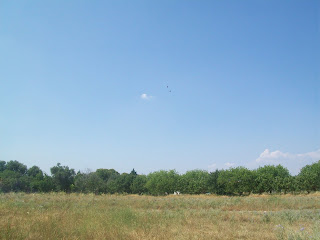
In order to create the sky I created a simple plane which I then curved into a half oval shape using the soft selection tool. This needed to be done so that no edges could be seen. I then made a material of a sky with trees on the bottom and then tiled it twice. This created a very good background.
The picture below shows the effect of the scenery and how good a few simple steps can make a model look. I would like to compare a picture of Hylands House with my model to make sure they are very similar. I will then need to add some lights to the scene and then I will be ready to animate and render.
No comments:
Post a Comment